End-to-end testing with Nightwatch.js
19 March 2019
Testing an application is so important. I can’t stress that enough. Nobody wants an application full of bugs. Nobody wants to fix the same bug over and over again. You must have, at the very least, end-to-end testing on large applications. And it is not that difficult. Remember that you can always start small and then get your test suites bigger to cover a larger part of your application.
This article will guide you through the set up of a simple end-to-end stack and performing simple operations, using hooks, adding custom commands and using shared variables across your test suites.
Nightwatch.js is a simple end-to-end testing framework that allows you to test your application through simple commands in a node.js environment. It uses a WebDriver server under the hood to perform the different operations you describe.
We are going to set up a simple end-to-end stack. Nightwatch.js is the framework to write the tests and Chromedriver is the browser driver we will use to perform the tests.
The website we are going to test is this one: https://nightwatch-demo.netlify.com/
It is a simple website with an input asking you your name and then displays it with a welcome message.
Installation
Create a file named nightwatch.json and put the following the configuration:
Writing the first test
Create a directory named tests.
This directory is your entry point, as specified in the configuration file (src_folders). Each file in this folder represents a test suite. Create a file named home.js inside the tests directory, as we are testing the home page.
In each test suite, we export an object with module.exports. Each object property represents a step in the test suite.
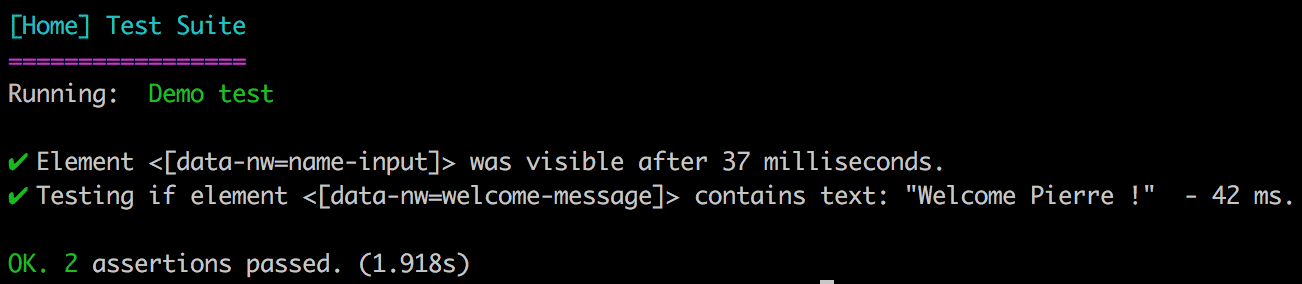
For example, in our home test suite, we only have one step which is called Demo Test.
This function takes an argument called browser, which is an object we can use to perform tasks, such as pause, waitForElementVisible, and so on. The functions you can use can be found in the api reference. Don’t forget to call the end method to tell nightwatch that the test is finished.
In order to run the test properly, we will configure the test command in the package.json. Replace the test command by nightwatch.
You can now run the test command:
You should see the following output:
Tests hooks
Hooks are powerful tools that you can use when you want to perform the same task before or after running a test suite. There are 4 hooks that we commonly use:
- before: runs before the test suite
- after: runs after the test suite
- beforeEach: runs before each step of a test suite
- afterEach: runs after each step of a test suite
It can be used for a lot things. For example you could call a specific service before your test suite to get things ready. You could call another specific service at the end of your test suite to shut it down.
Let’s create a simple hook that would log that the test suite is finished.
The hook terminates when the function returns (which in this case is at the end of the function, because the functions return undefined by default when they reach the end).
You can run the test and see “I am done.” at the end of the test output.
You may need to perform asynchronous tasks. You can use the done parameter to do so.
Custom command
There are some workflow that requires to do some things that are not in the nightwatch API. For example, if you sign up to your website, you might receive a code or a link by email. For these kind of things, you might want to look at nightwatch custom command.
You can create a command, use the gmail API, take the last email received from noreply@yourwebsite.com and perform a query on the content to retrieve the link.
We are going to do something simpler in this article, but the idea is the same.
There are two different ways to define a custom command:
- Function-style commands which are really simple but really limited
- Class-style commands which are much more flexible
Let’s focus on the latter, as it is the one you want to use most of the time. Class-style command are based on EventEmitter. It works by calling the complete event when you are done performing the task. The following command is a weird pause that works only on odd number of milliseconds. Let’s put a file in a custom-commands directory and name it weirdPause.js.
Add the custom_commands_path property to your configuration file nightwatch.json.
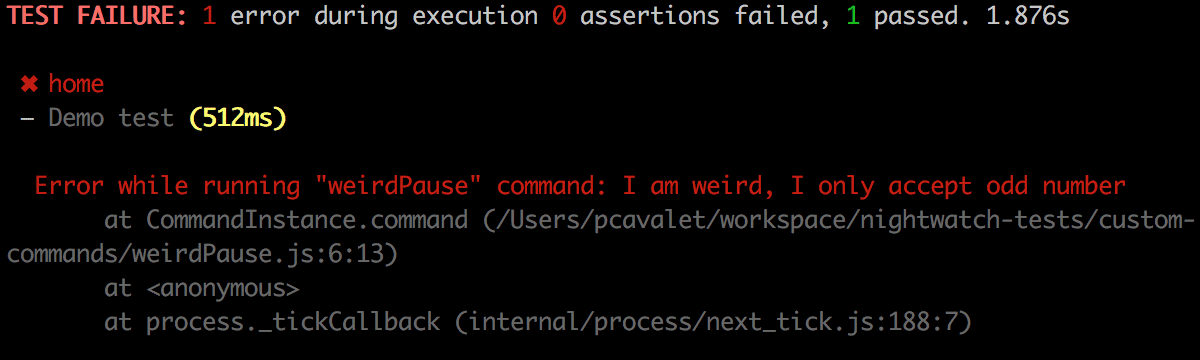
Finally try running it both with an even number and an odd number. The command name is the name of the file itself. This one is a bit odd and not very IDE friendly.
You can see that the even number stops the test and the odd number just pass like a charm.

Global variables
When you are testing, you may want to define some variables that you will use across your application. You can do it in the nightwatch configuration file. Let’s add a launch_url and a globals object with a property:
Now we can use this variables directly in the test. It is available through the browser variable.
No excuses!
This is the basics to write your first end-to-end test. You now have everything you need to set up the stack and start testing your app. Remember that it is really simple to start, and you can at the very least test your most important pages..
There are a lot of other things nightwatch can do. You can find out more on their website.

Expert technique
Comments
